Published at: 2025-10-30
Create PDF Template
1. Template Management
- Preset Templates: To facilitate quick setup, ShareCRM provides preconfigured print templates for relevant business objects (e.g., Sales Orders, Accounts). Users can directly use these templates or duplicate and modify them as needed.
- Default Template: Users can configure multiple print templates for different scenarios and designate one as the default. The system automatically uses the default template during printing, though users may switch templates manually.
- Limit: Up to 100 print templates can be created. To increase this limit, purchase a template quota pack (each pack adds 50 templates).
2. Create a PDF Template
Click New Template (Figure 1.1).
- Creation Methods (Figure 1.2)
- Method 1: Copy from an existing template. Duplicate a template and adjust its layout/fields to streamline setup.
- Method 2: Start from scratch. Create a blank template.
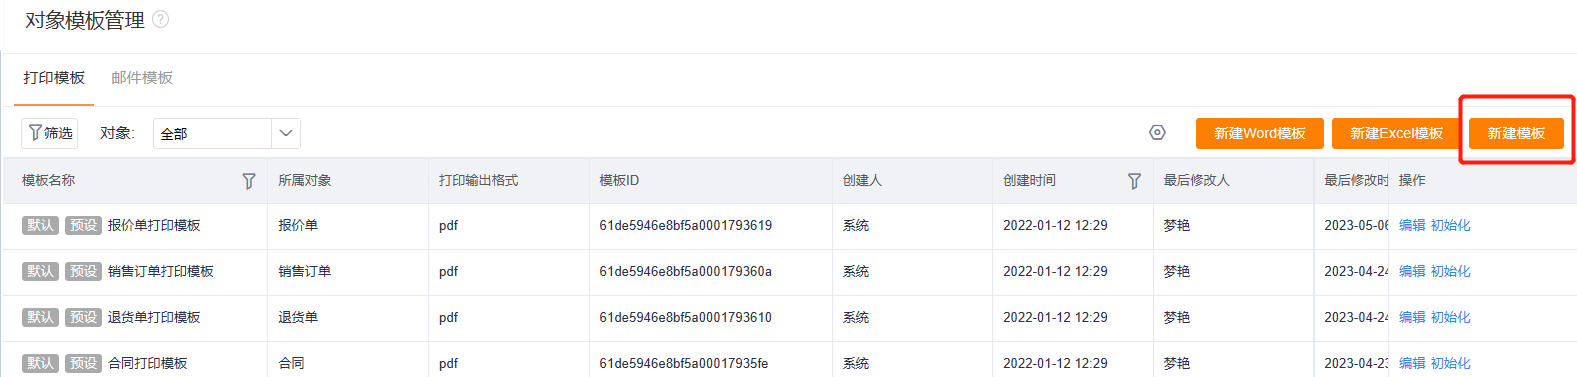
Figure 1.1: New Template

Figure 1.2: Creation Methods
- Configure Basic Settings (Figure 1.3)
- Template Name: Assign a descriptive name (e.g., “Sales Order - Customer Confirmation Template”).
- Scope: Define employee access permissions for the template.
- Export Format: Choose between Word or PDF.
- File Naming:
- Custom names can combine object fields, variables, and text (e.g.,
(Account Name)2022(Gender)). - Unsupported fields: Images, attachments, signatures, payment components, etc.
- Default naming:
[Object Name]-[Primary Attribute]. - Invalid characters:
/:*?"<>|.
- Custom names can combine object fields, variables, and text (e.g.,
- Edit PDF Template (Figure 1.3)
- Template Editor (Toolbar): A rich-text editor with Word-like functionality:
- Text Formatting: Font size, style, bold/italic/underline, borders, superscript/subscript.
- Paragraph Formatting: Spacing, indentation, alignment.
- Tables: Insert and customize tables.
- Layouts: Add invisible grids for alignment.
- Dynamic Tables: Automatically populate child records (e.g., Products under a Sales Order).
- Supports subtotal rows.
- Auto-incrementing SN (serial numbers).
- Filters by Record Type.
- QR Codes: Insert object-detail or custom QR codes.
- Watermarks: Text/image watermarks with adjustable opacity.
- Headers/Footers: Add static/dynamic content or images.
- Page Numbers: Customize position and format.
- Insert Fields: Click fields (e.g., “Order ID”) from the left panel to add them to the template.
-
Associated Objects & Fields (Left Panel): Print fields from Primary Objects (e.g., Sales Orders) and related objects (e.g., Products, Payment Collections).
- Supported Field Types:
- Text/selection fields: Display values directly.
- Images: Fixed-size rendering.
- Attachments: Show filenames only.
- Lookup fields: Support referenced images.
-
Global Variables: Accessed under “Global Variables” in the data source panel.
- Permissions:
- Fields/objects without view permissions are hidden during printing.
- Template Editor (Toolbar): A rich-text editor with Word-like functionality:
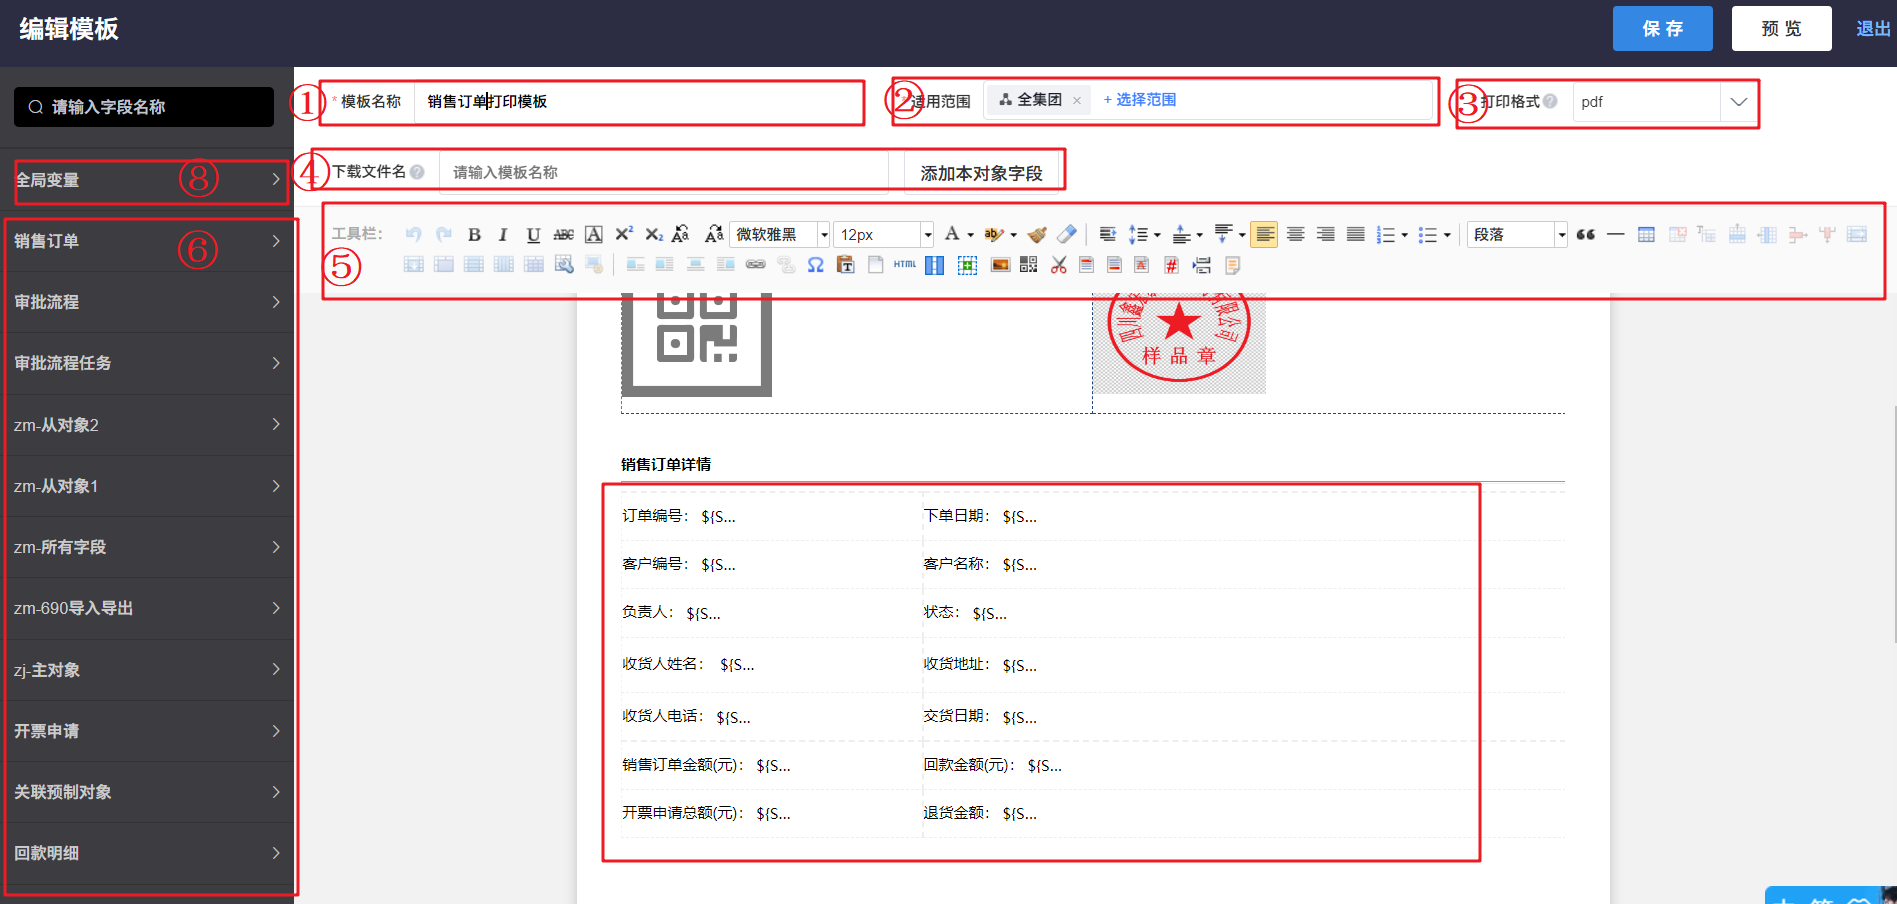
Figure 1.3: Editing Interface
3. Template Operations
- Edit (Figure 1.4): Same as creating a new template.
- Set as Default (Figure 1.4): Designate a template as the default for automatic use during printing.
- Reset (Figure 1.4): Restore preset templates to their original configurations.
- Delete (Figure 1.4): Remove unused templates (preset templates cannot be deleted).

Figure 1.4: Template Actions
4. Custom Printing with HTML + APL
Print templates support HTML and APL (Application Logic) for advanced scenarios like:
- Irregular tables (e.g., merged cells).
- Conditional element display (e.g., hide/show fields).
- Irregular tables (e.g., merged cells).
- Conditional element display (e.g., hide/show fields).
Learn more:
Print Templates: HTML + APL Integration
Print Templates: HTML + APL Integration
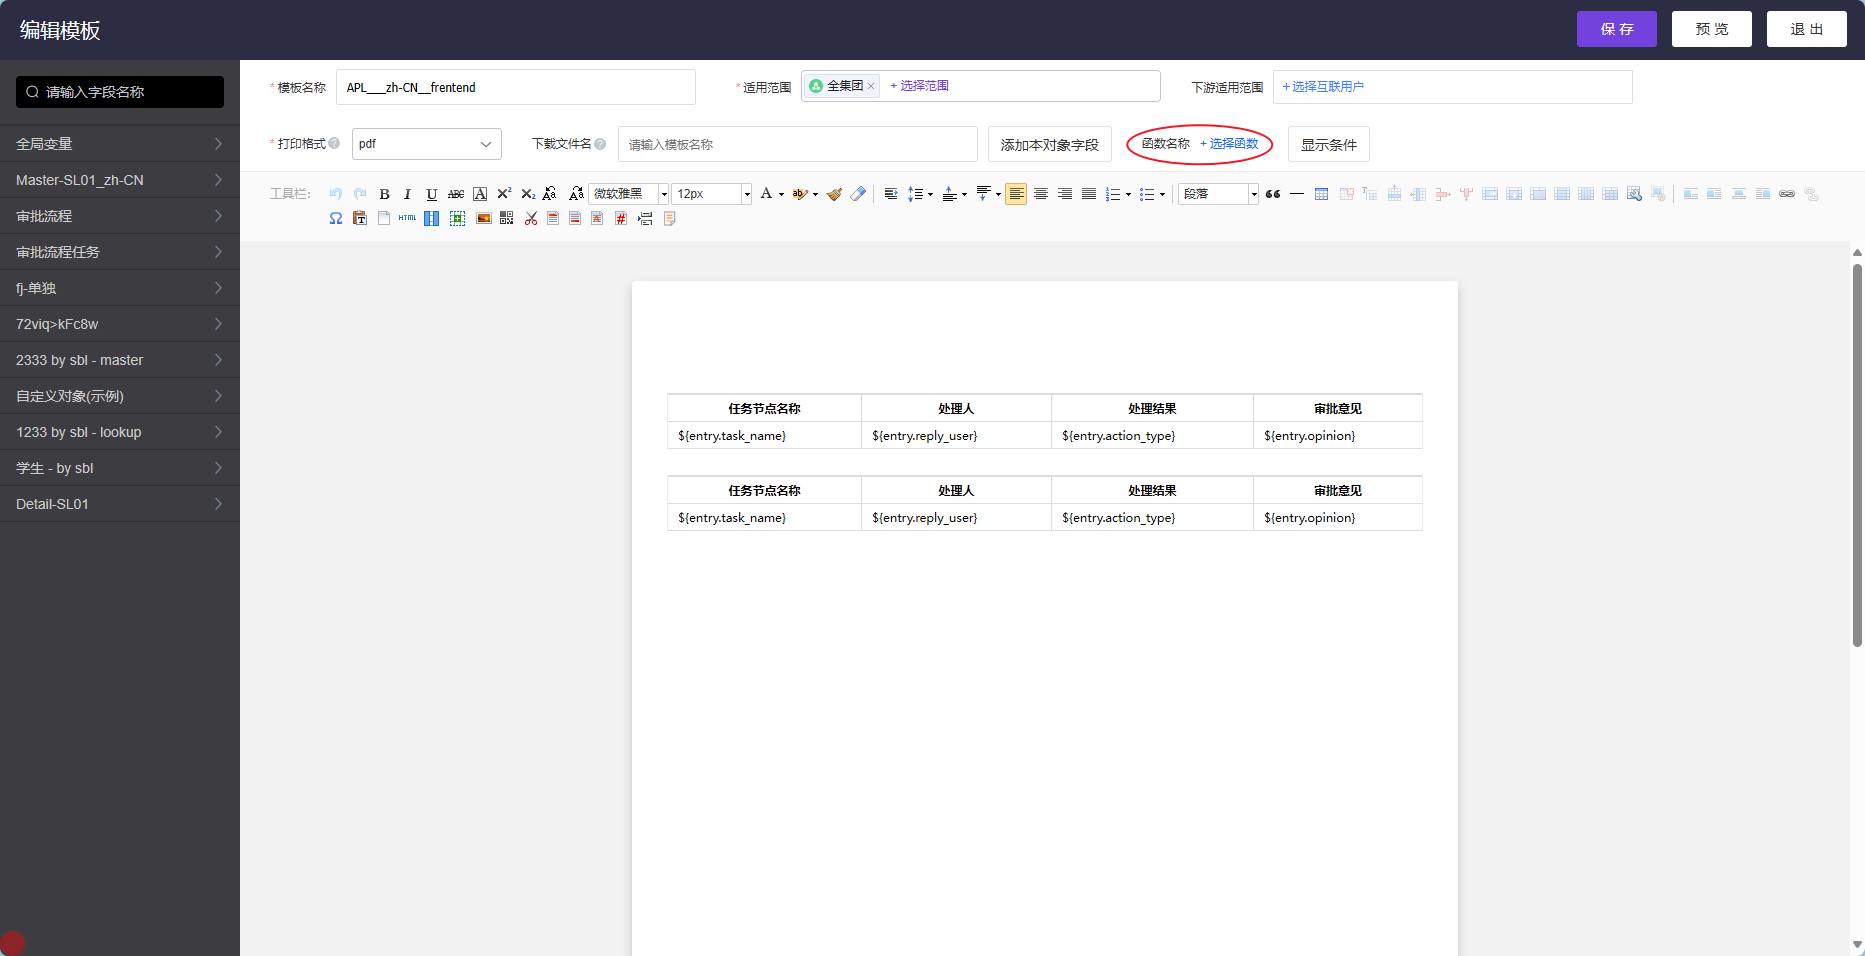
Example: Merged Cells
