1. Edit graphic message
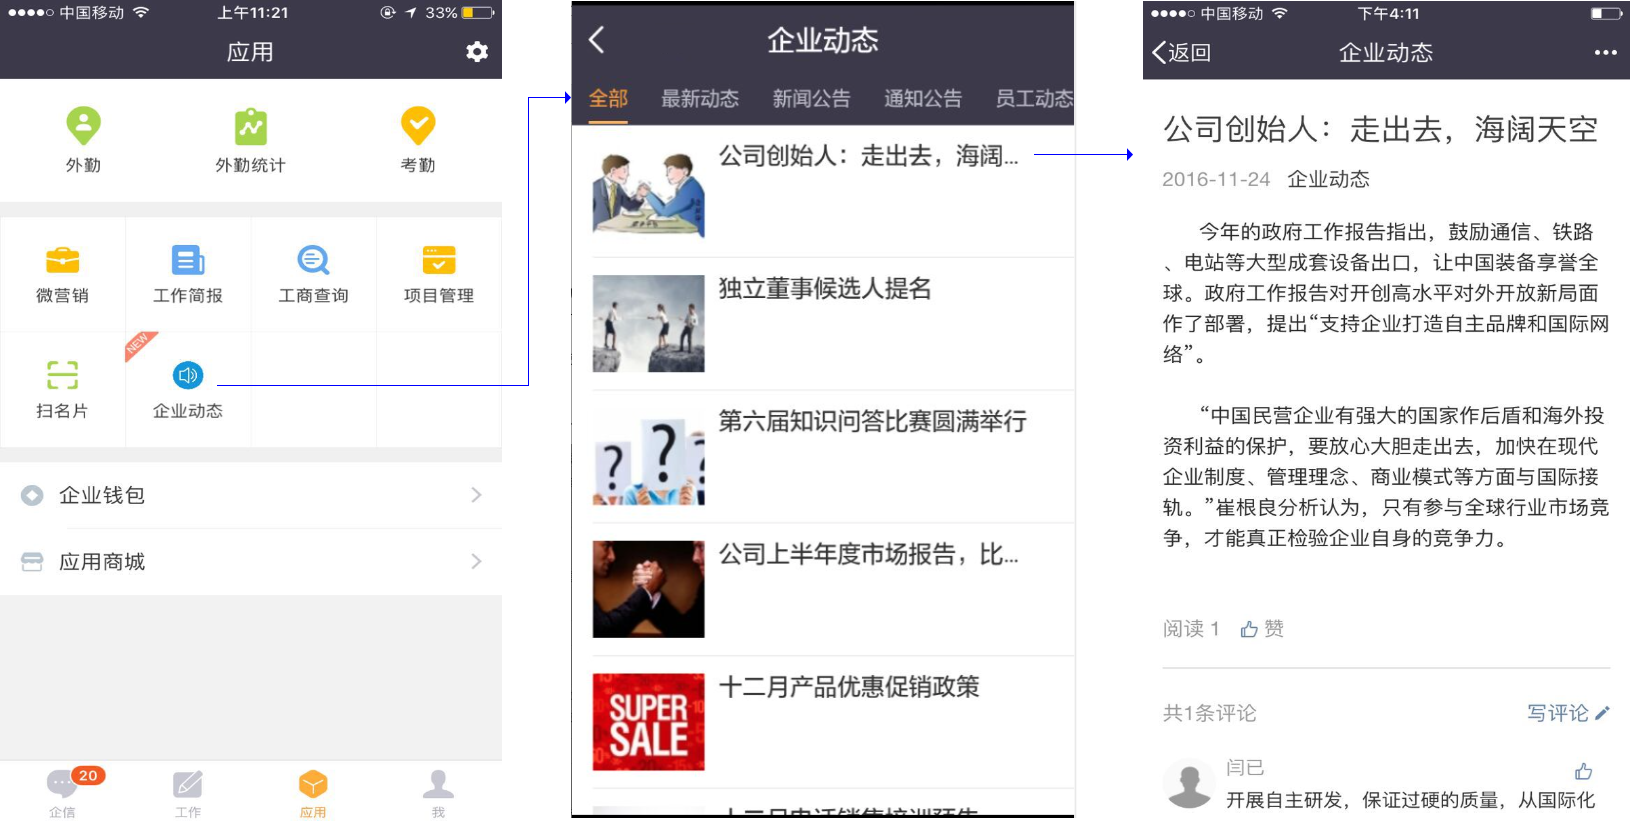
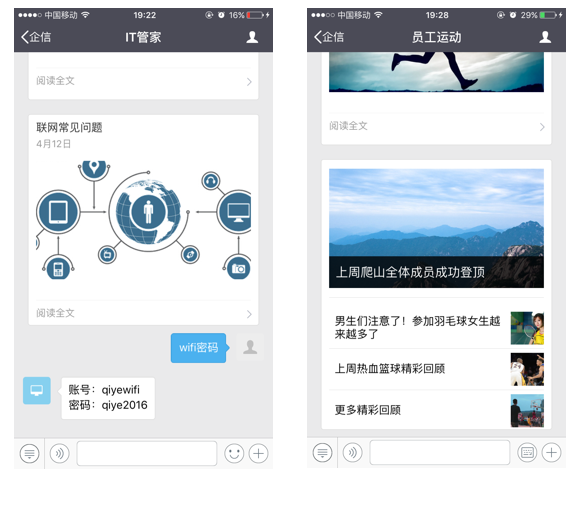
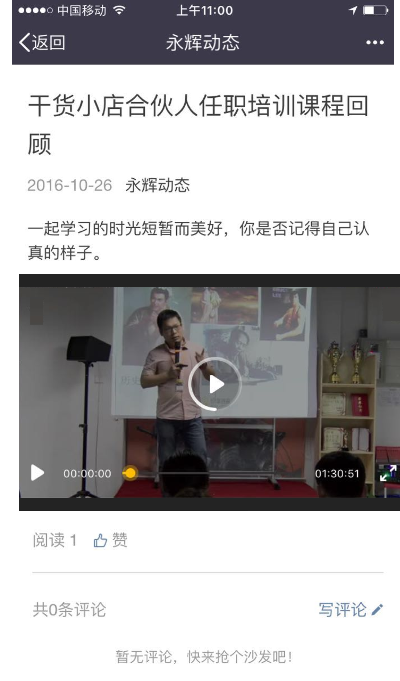
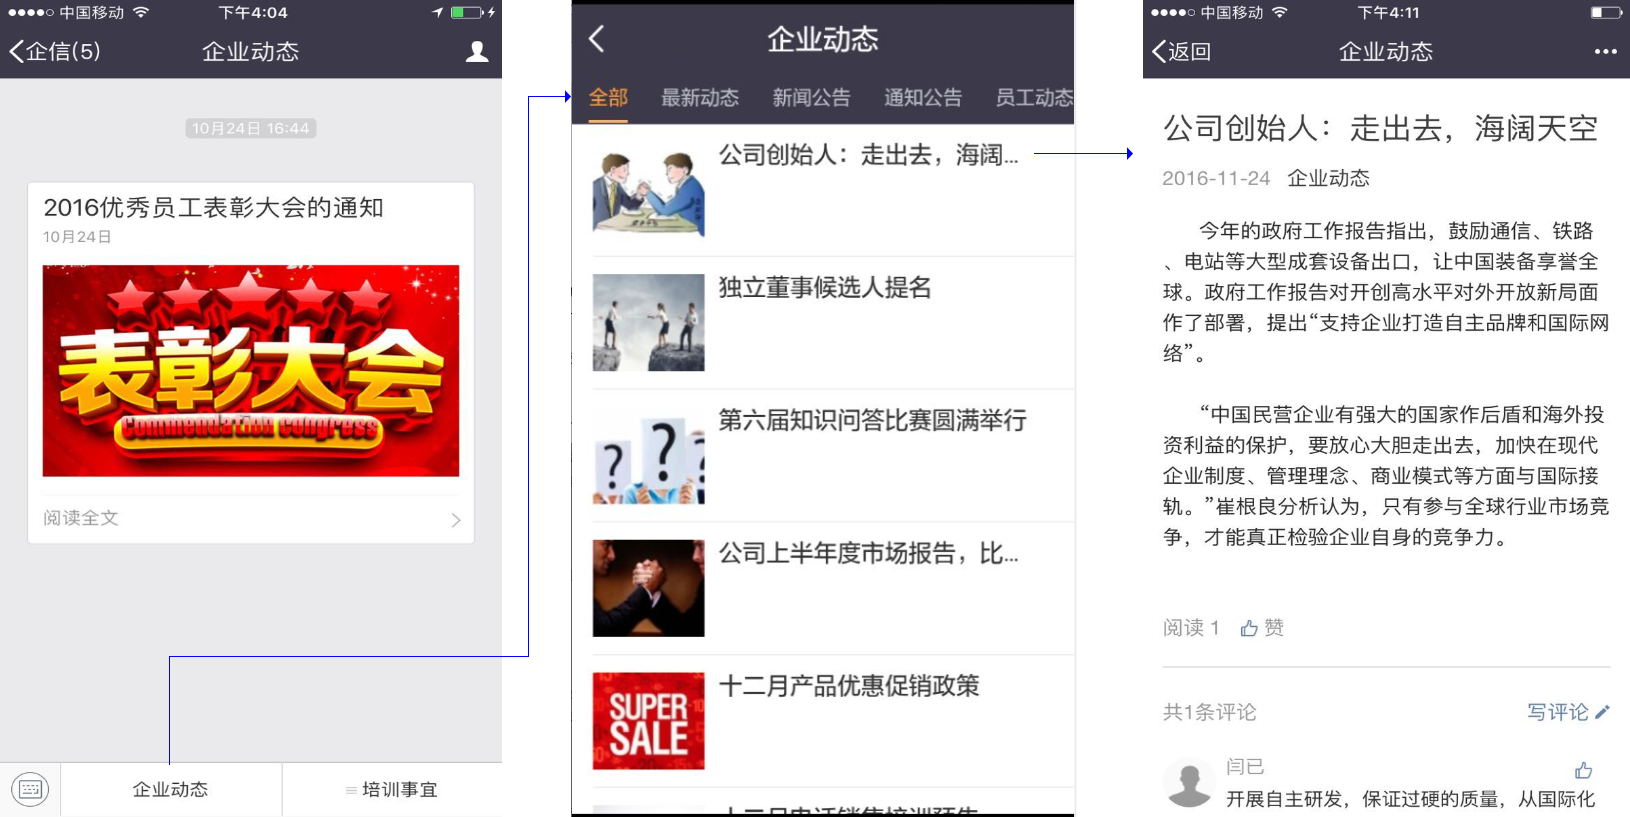
Graphical message is a function that can edit and typeset the notices that you need to release to employees. It can display your notification content, latest information, etc. in graphic and textual form. After use, the effect displayed in the service account is as follows:
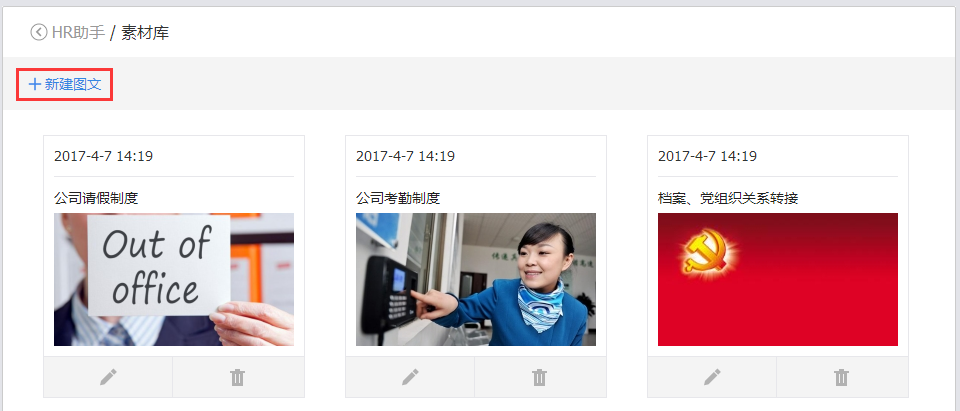
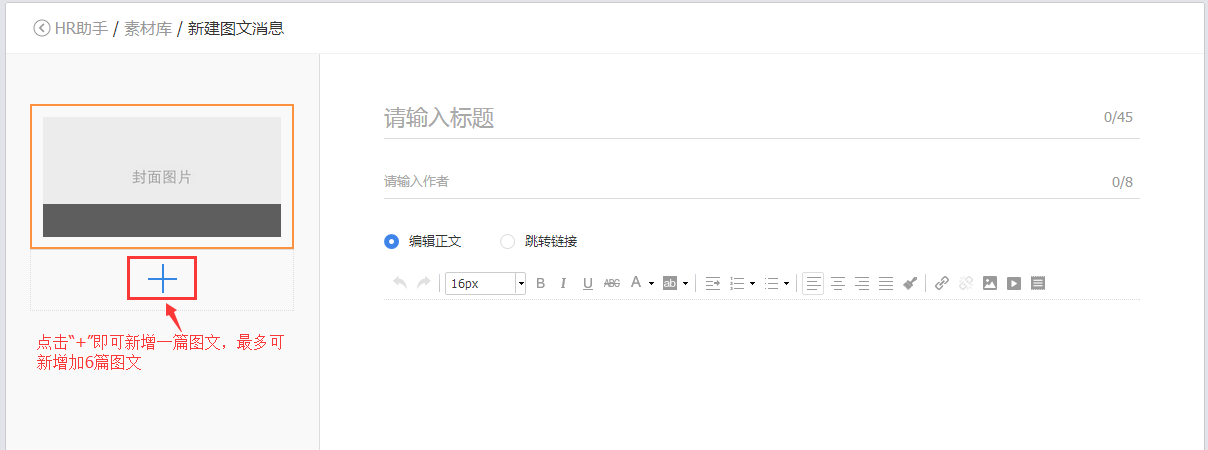
Go to the web application->service account workbench->material library->new graphic message, you can edit a single graphic message, if you need to edit multiple graphic messages, directly click the left graphic navigation "+" to add more A graphic message can edit up to 6 graphic content. Supports inserting pictures, videos and historical graphics.
1. Insert video
Supported insert video types:
- Tencent Video. Note: The universal code of the video must be entered in the input box. How to get video general code: enter Tencent Video, click on a video, click share on the bottom left of the player -> copy the general code;
- Training assistant video, training assistant course administrator or training assistant application administrator can insert the successfully transcoded video material in training assistant into the text message.
After inserting the video, it can be played in the text message.
2. Insert historical pictures and texts
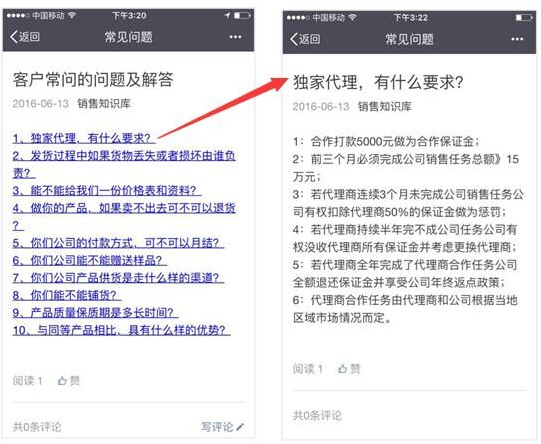
Images and texts already in the material library can be quoted. This feature is very useful for creating recaps of past issues, FAQs, and more!
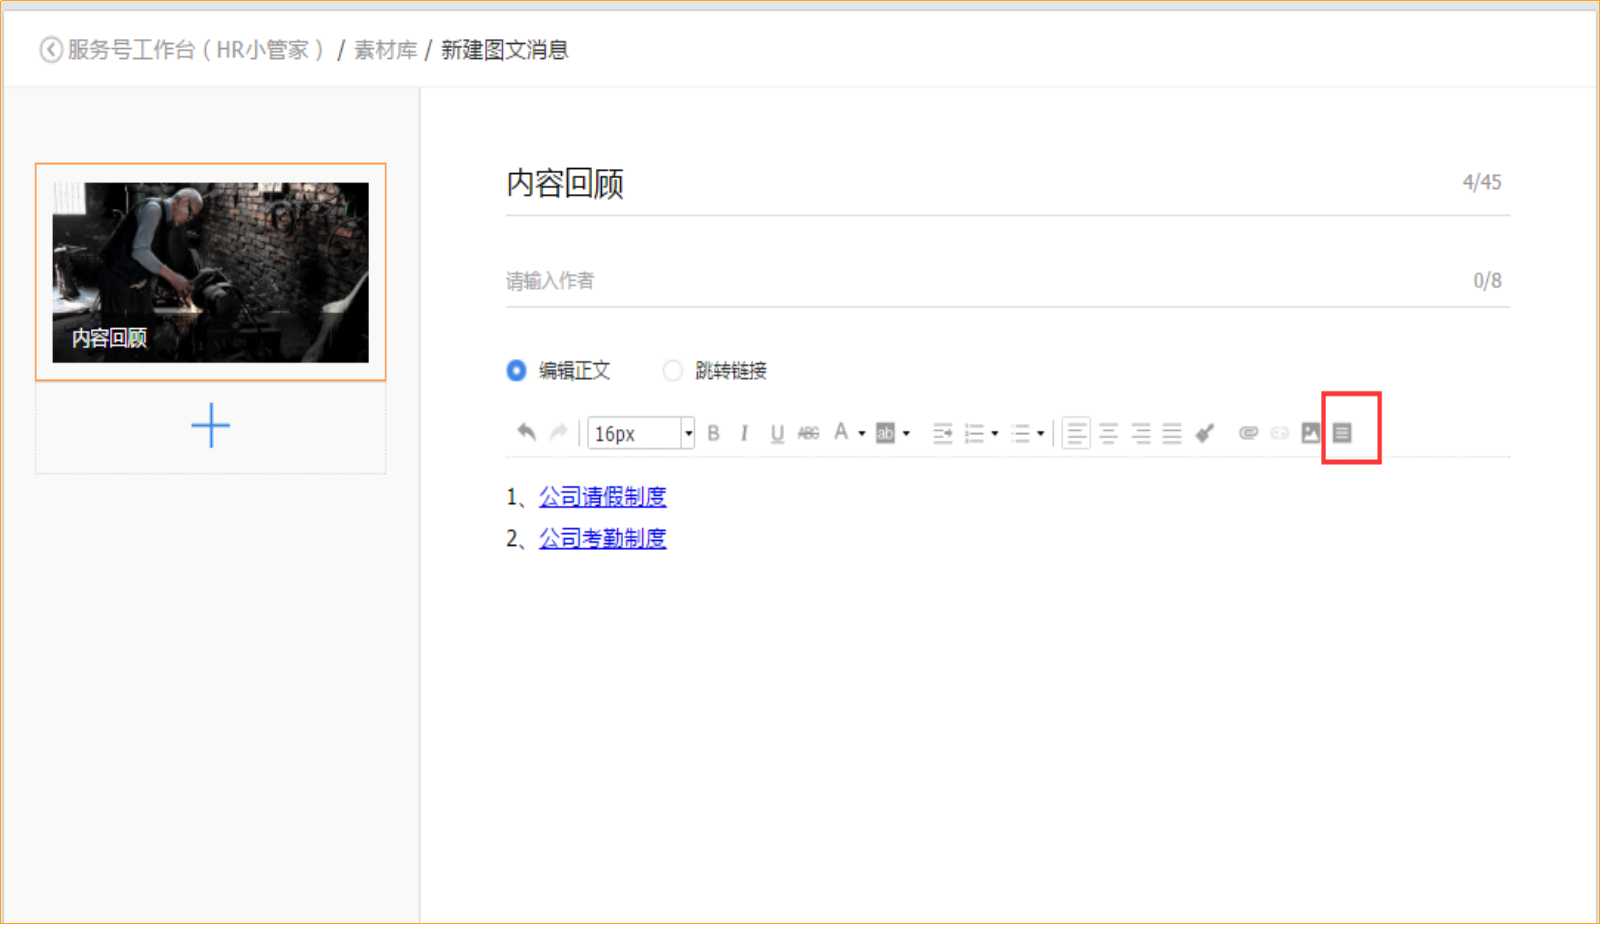
Employees will automatically jump to the article when they click on the blue font.
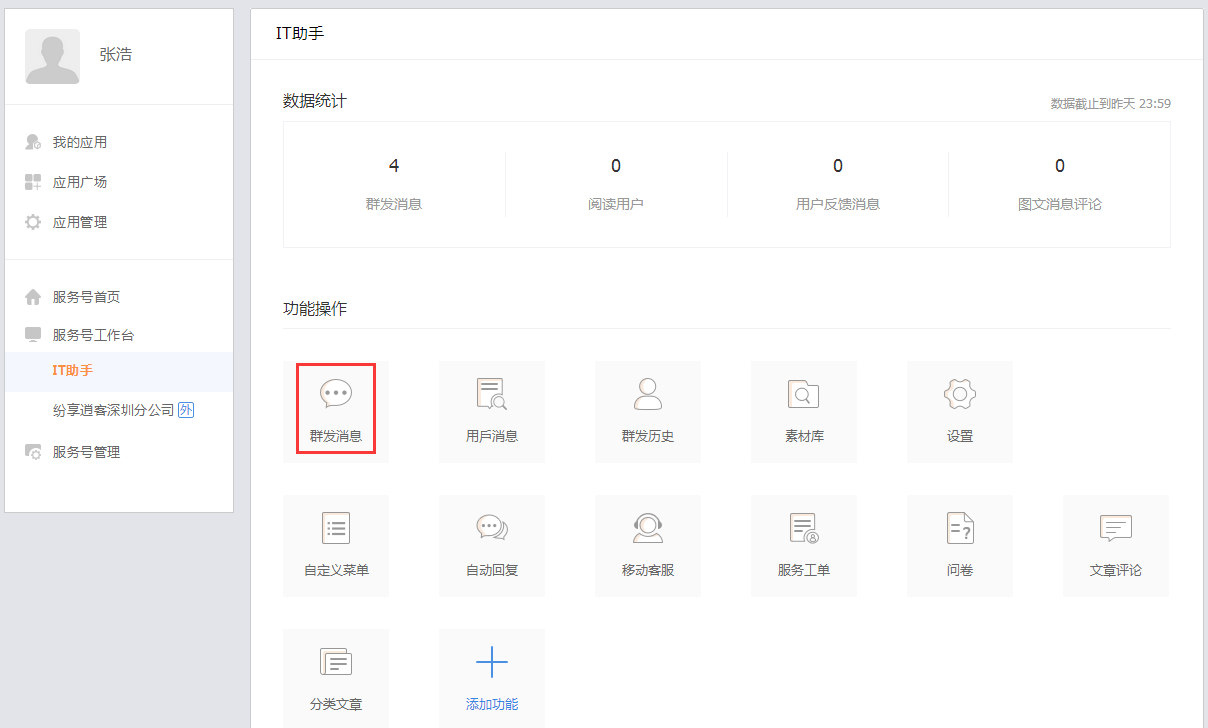
2. Group message
[Mass sending function] is one of the core functions of the service account. Messages can be sent to the entire company, department or even individual on the service account workbench. The group sending function supports sending text, graphics, jump links and other types. Methods as below:
1. The service account administrator clicks on the material library in the web service account workbench to enter the editing page.
2. On the group message page, you can edit the content of the group message.
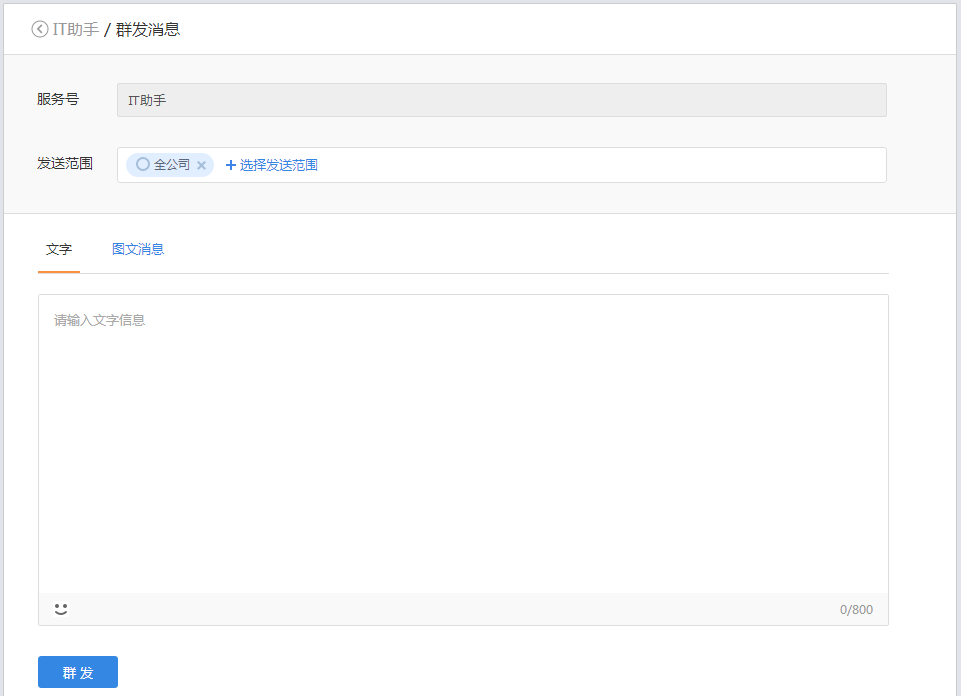
- The sending scope is the receiving scope of the message issued by the service account. The default is the subscription scope of the service account, which can be modified by department or individual.
- The sending content supports text messages or graphic messages. Text messages can be edited and sent directly, and graphic messages can be selected in the material library.
- Click [New Graphic Message] to automatically jump to the material library graphic message editing page. After editing, click "Save and Send".
3. Article comments
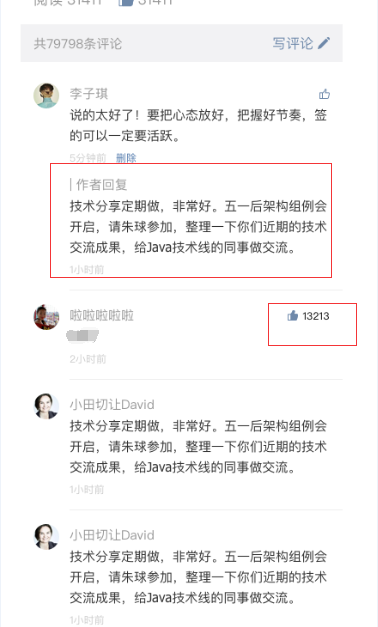
After the text message is sent, employees can comment, like and interact, and the administrator of the service account can reply or delete the daily comments in the user message. Methods as below:
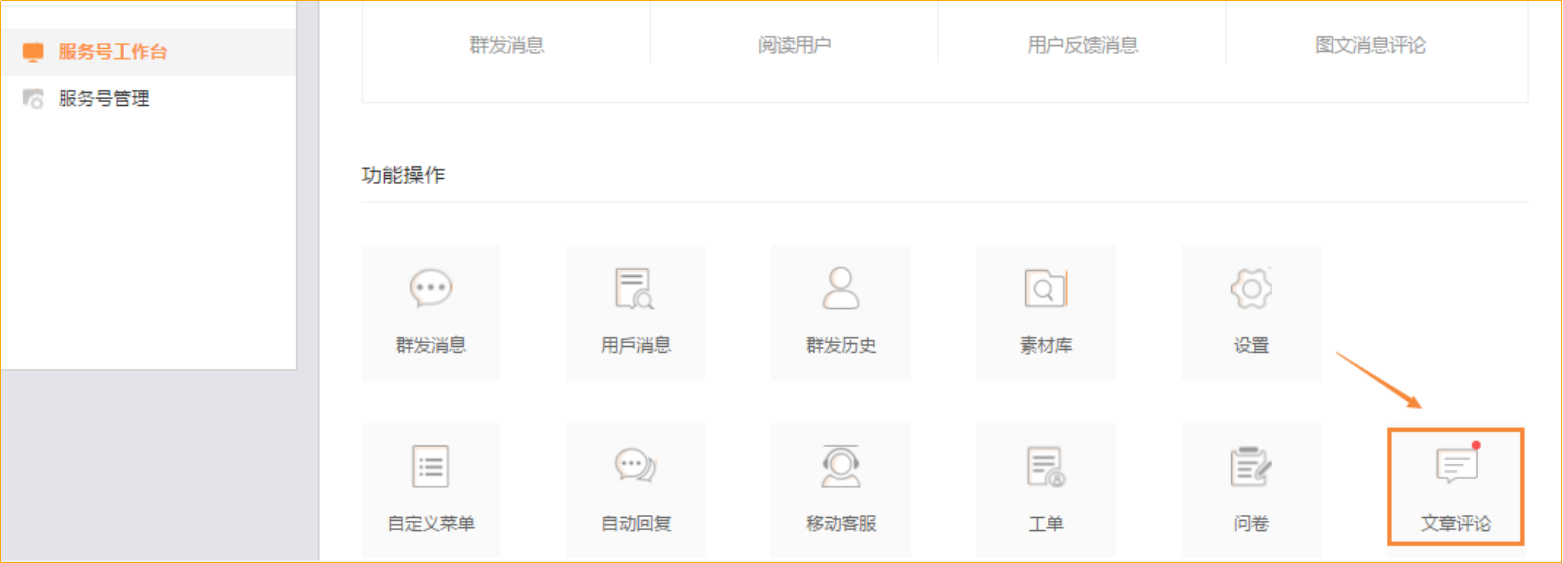
1. The service account administrator clicks on the article comment in the web service account workbench to enter the management page.
2. On the management page, the administrator can reply and delete each comment.
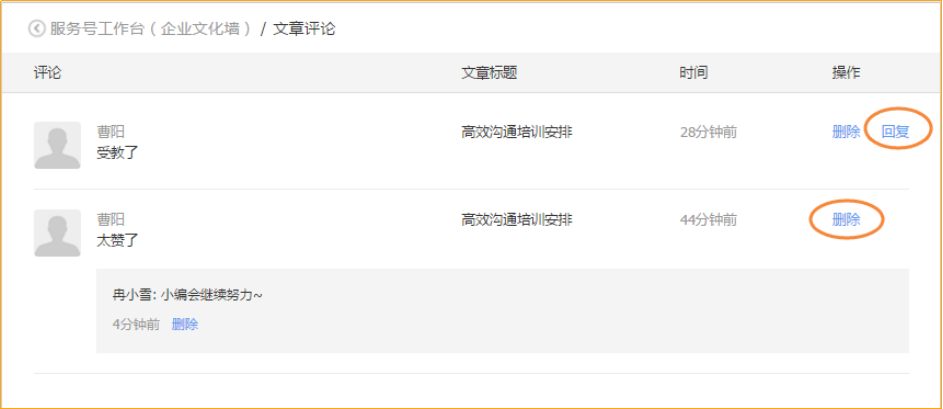
Then the reply to this comment just now will appear in the comment list of the article, as shown in the figure:
4. Classified Articles
The function of classified articles is a functional plug-in for creating historical group article classification and viewing webpages for service accounts. Service accounts can set categories for sent articles and generate web pages to publish to service account users; you can copy the links of classified article webpages through custom menus, Define applications and other means of distribution.
After using the custom menu to publish, the effect is as follows:
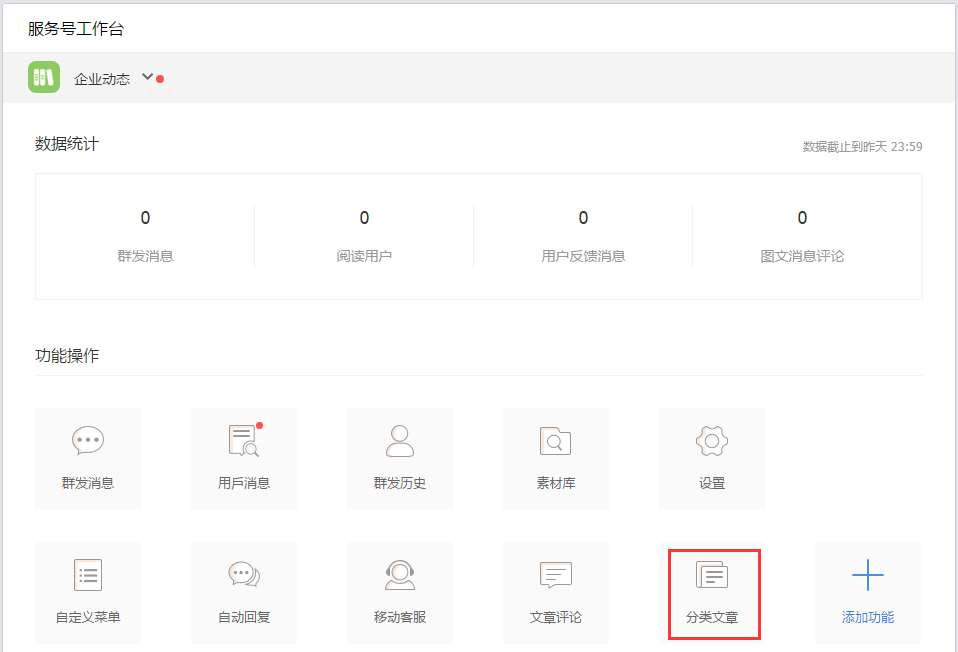
1. The function entrance of classified articles
Enter the service account workbench, click on "Categorized Articles" in the function operation area, if there is no function operation area, click Add Function, find "Category Articles" in the added function list and open it.
2. Classification management function
① Add category, you can set up to 20 categories. Click Add Category, enter the category name, and save.
② To add articles, you can add pictures and texts that have been sent in groups by yourself. If you want to add the content of which category, just click Add Article on the right side of the category, then check the article and click OK.
③ To view articles, you can view the article list under the category. If you need to remove the article from the category, click Remove Article in the upper right corner of the pop-up window, then check the article and click OK.
④ Category sorting, the categories are displayed from top to bottom, click the sort icon at the far left of the list, and you can drag and drop to adjust the display order of the categories.

3. Publish classified article pages
Setting categories and adding category articles is to create a new historical mass article category viewing webpage, which can be copied and published through custom menus, custom applications, etc.
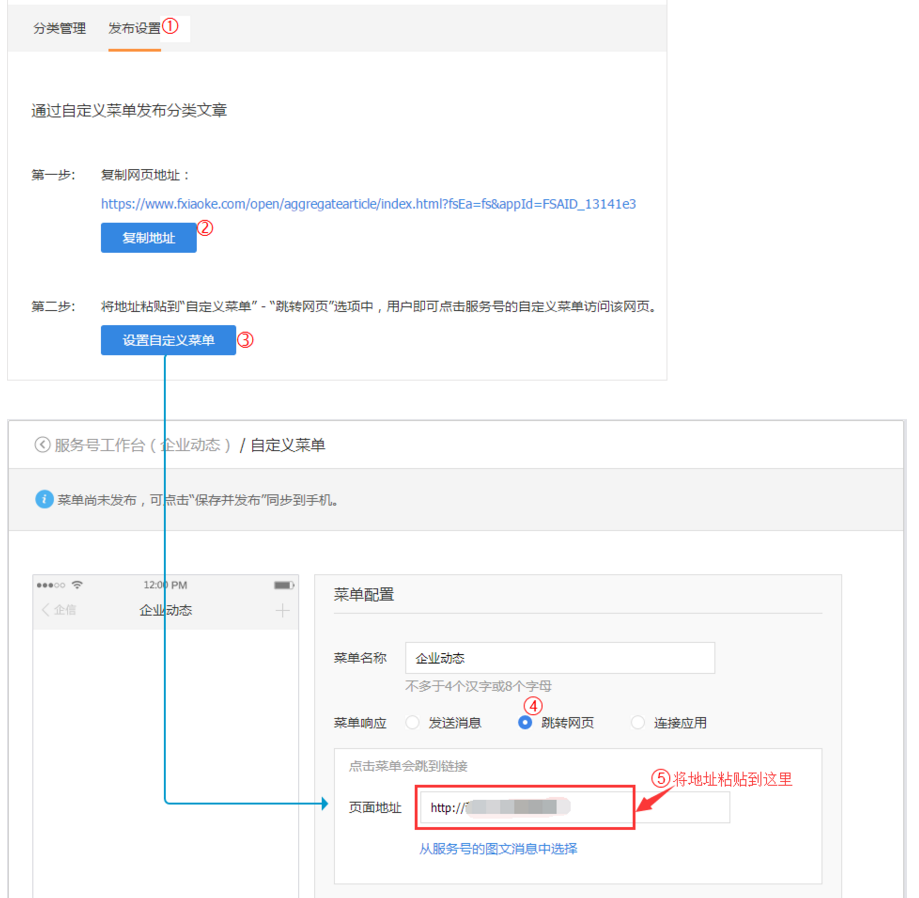
- Publish classified article pages through custom dishes
Step 1: Switch to the [Publish Settings] Tab in the classified article function;
Step 2: Copy the address of the established classified article web page;
Step 3: Click Set Custom Menu to enter the custom menu setting page;
Step 4: Select a menu, the menu responds to the event selection and jumps to the web page
Step 5: Just paste the address to the page address, save and publish the menu, and service account users can click the menu of the service account to access the classified article webpage.
Display effect on mobile phone:

- Publishing a classified article page through a custom application
Copy the address of the established classified article web page, go to "Application Management" to add an application and paste the address to "APP Application Entrance" - "Entrance Address". Service account users can click on the application channel from the mobile terminal. The application accesses the category article page.